

Story & photographs by Dewey Vicknair
I get to see some unusual guns in the course of my work, but a shotgun I worked on recently definitely qualifies as a rarity. Many shooters and collectors are familiar with the Mauser 98- and Springfield ’03-based custom rifles built by Hoffman Arms Company, in Ardmore, Oklahoma. Some may even know of the side-by-side and single-barreled shotguns the firm offered. But few have ever seen an over/under bearing the Hoffman name. The doubles and singles were bought-in from England, and then stocked and finished in Frank Hoffman’s shop; but the over/under I received seems to have been made in whole by Hoffman. The entire gun has a handmade air about it, as evidenced by its lack of internal (and some external) symmetry and by the fact that some major components are weldments rather than being made in one piece. The single-digit serial number is another clue; and if there are any other Hoffman over/unders, I imagine that they aren’t identical to this one.
The gun came to me with the right, upper portion of the forend iron completely broken away, a poorly repaired crack in the forend wood, damaged firing pins and a couple of damaged screw slots.
The forend iron apparently had failed previously, and someone had made an attempt at repairing it via welding, which clearly wasn’t effective. The previous repair attempt also had rendered the forend iron unsalvageable. The iron was one of the components that was made in multiple pieces and welded together, but the original failure had not been at the weld joint. The iron originally was constructed in two parts: the shoe, which bears against the action knuckle and houses the ejector mechanisms, and the “leg,” which mates to the forend lug on the barrel and supports the latch mechanism and the wood.


Before embarking on making a new forend iron, prudence demanded that I determine exactly what caused the failure of the original, so that it would not happen again. The ejectors on this gun work on the Southgate over-center principle, which involves two moving parts: a tumbler and a spring. As simple as the Southgate mechanism is in “firing,” it still needs a way to re-cock the tumblers when the gun is closed. Some guns use the ejector segments themselves to perform this task, pushing the tumblers back into position as the ejector segments are forced forward by the breech face as the gun is closed. Others use a separate cocking lever, employing mechanical advantage through the miracle of leverage to rotate the tumblers as the gun is closed.
Hoffman’s design is, at least conceptually, a combination of the two. There is a plunger situated in the forend iron (one on each side) that pushes the tumbler into the cocked position as the action is closed. The plunger is situated well above the tumbler pivot and works against the frame just above the action knuckle, so that when it makes contact with the frame as the gun is closed, it travels axially in its bore, pushing the tumbler into the cocked position. It is an ingenious design that combines the simplicity (almost) of no cocking system with the mechanical advantage of the cocking- lever system. It is a design that works very well, so long as the cocking plungers fit their bores—and that’s where the problems began. In this gun the plungers were .020" to .025" smaller than their bores in the forend iron, which were .187" in diameter. This amount of play allowed the plungers to cock in their bores and bind rather than smoothly travel fore and aft. In fact, they would bind so badly that, even with the ejector tumblers and springs removed, they would hinder the action’s closing. Since the leverage that normally would be employed to rotate the tumblers was now directed against the unsupported vertical portions of the forend iron, something was going to give. That something was the right side of the forend iron.
Having determined the cause of the problem and how to correct it, it was time to start cutting and filing. The forend iron was annealed (it was case-hardened) and the leg was cut away from the shoe at the original weld. I made the new shoe from 1018 steel and, because of the aforementioned lack of symmetry, each cut for the ejector mechanism parts, cocking shoulders and even the height of each side had to be done individually. Once the shoe was suitably “blanked,” it was TIG welded to the original leg; and then the actual fitting began. This consisted of filing each cocking shoulder so that both hammers reached full cock at the same time, fitting the new (properly sized) ejector cocking plungers so that both ejector hammers reached their full-cock positions just as the gun closed, timing each side of the ejector mechanism to ensure that the ejectors did not trip until both main hammers reached full cock and just before the barrels reached their stop, and then fitting the outside contours of the iron to the frame. With all of that done, I had to make the new metal fit the existing forend wood. With the forend assembly now functional and properly fit, I disassembled everything, prepped the iron for engraving and sent it off to Geoffroy Gournet along with the remains of the original part, so that he could duplicate the factory engraving (which he did perfectly). While Geoffroy had the metal, I properly repaired the cracked forend wood, recut the checkering and refinished/blended the repaired area. Then I took care of the other more “minor” issues with the gun. Once I received the engraved forend iron, I color case-hardened it and artificially aged the external portions so that it would match the frame. The gun was reassembled, lubed, function checked and test-fired to assure that all was well.
It now looks like nothing ever happened to it, as a properly repaired gun should.
To see more of Dewey Vicknair’s work, visit vicknairgunsmithing.blogspot.com.


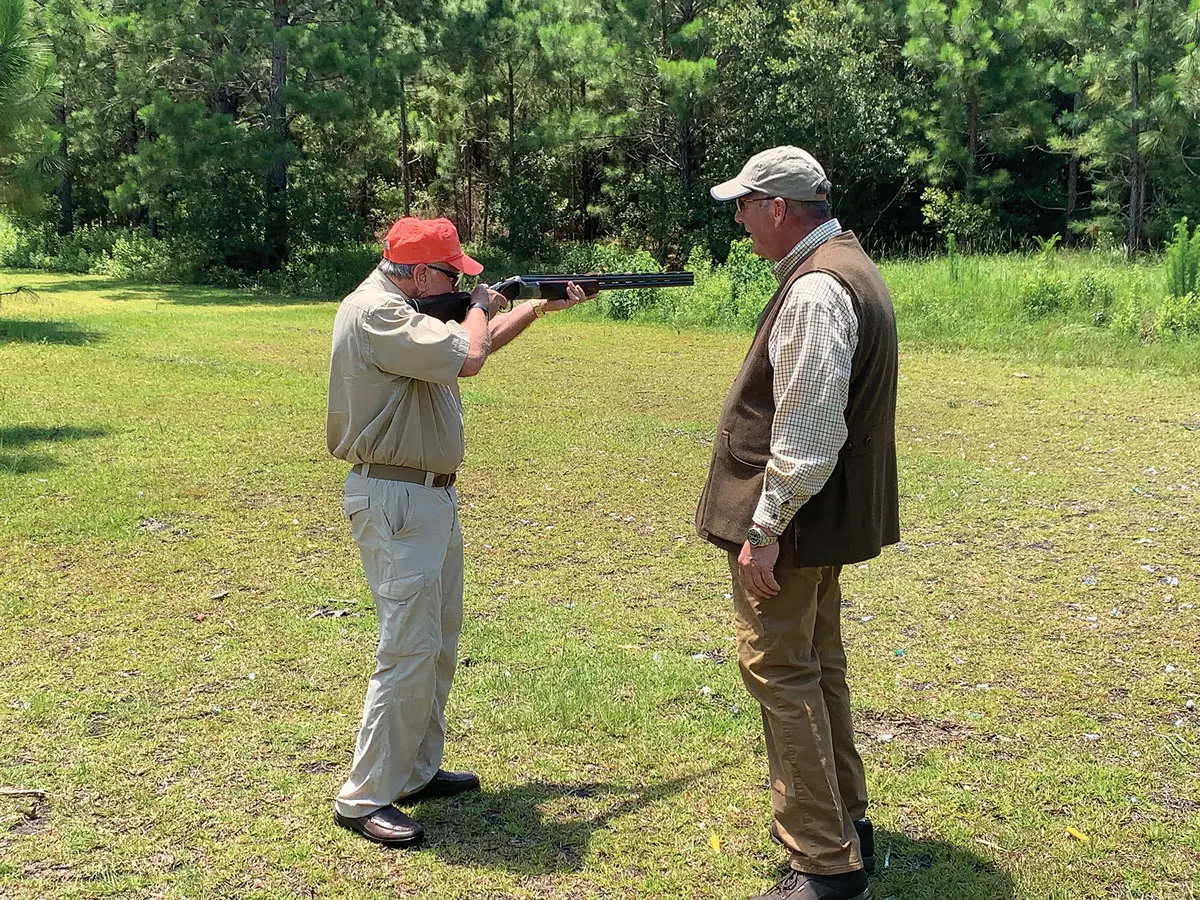
Making sure the ejector mechanisms trip only after the hammers are cocked and just before the barrels reach their mechanical stop.


Read our Newsletter
Stay connected to the best of wingshooting & fine guns with additional free content, special offers and promotions.


Masterful work on the “injured”
Hoffman. Just stunning. Congratulations.
You are truly a master in gunsmithing! Excellent story on a shotgun I had never heard of. Please show more of your projects, Mr. Vicknair.
Thank you!