
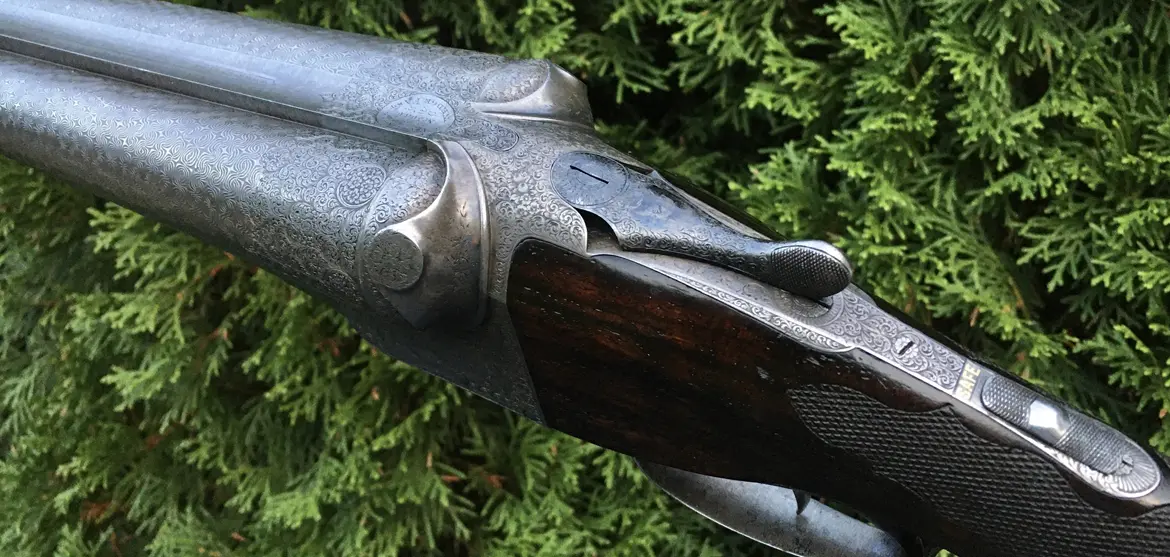
Last issue I introduced Greener No. 35320, an exhibition-quality 10-gauge “G-Gun” with 30-inch Damascus barrels. When I acquired the gun, it had a bodged repair to the left tumbler and related issues that had rendered it a single-shot. The following is a detailed description of what it took to restore the gun to its former glory.
To get the Greener shooting and ejecting again, I had to make a new tumbler; but first I needed to repair the original to serve as a model. The first task was to replace the metal missing from the nose of the sears, the ejector arm and the two filed-away stubs of the cocking swivel as well as add enough steel on the surface of the damaged tumbler arm to be able to bring it back to its original size. It was imperative to retain the metallurgical integrity of the original components—their temper and hardness—so I carefully used my laser welder to build up the damaged areas. One benefit of using a laser welder is that the new steel can be made as hard or harder than the original yet the base material is not affected.
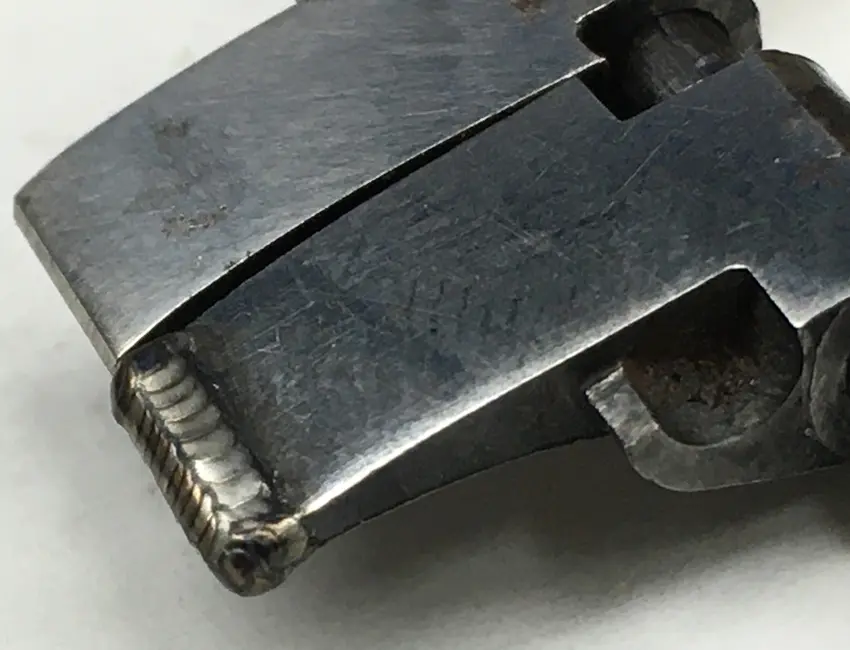
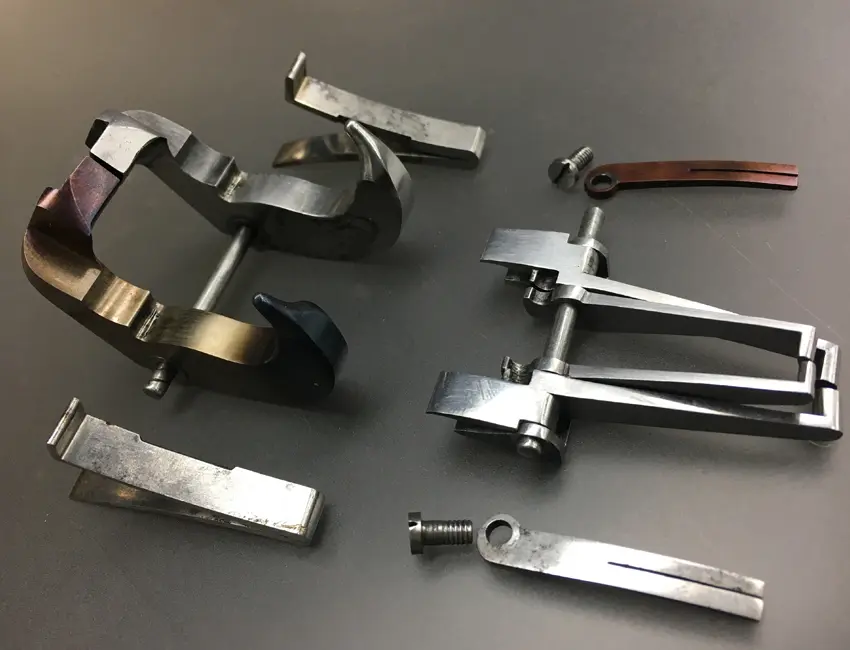
From left: The laser welds to build up the sear nose; the new tumbler starting to take shape; and the final components before polishing.
What I was to learn over the next two months was the exactitude and surgical precision this repair required. In essence, the working surfaces of the tumbler’s forearm and its bent, the main and intercepting sears, and the cocking studs had to match in dimension exactly as they had been when they had left the factory 134 years before. Anything less, and the Greener wouldn’t function.
At the juncture between the sear nose and the bent there is zero tolerance for error in either the length of the sear or its angle of engagement in the bent. The geometry of the lock is such that incorrectly removing an extra thou or two of metal from the sear nose—a mere stroke of a file or stone—would let the G-Gun’s powerful mainspring press the tumbler’s forearm down and out of alignment enough to trip the ejector system every time the gun was opened. It is no wonder that Greener assigned its A Team to making its G-Guns.
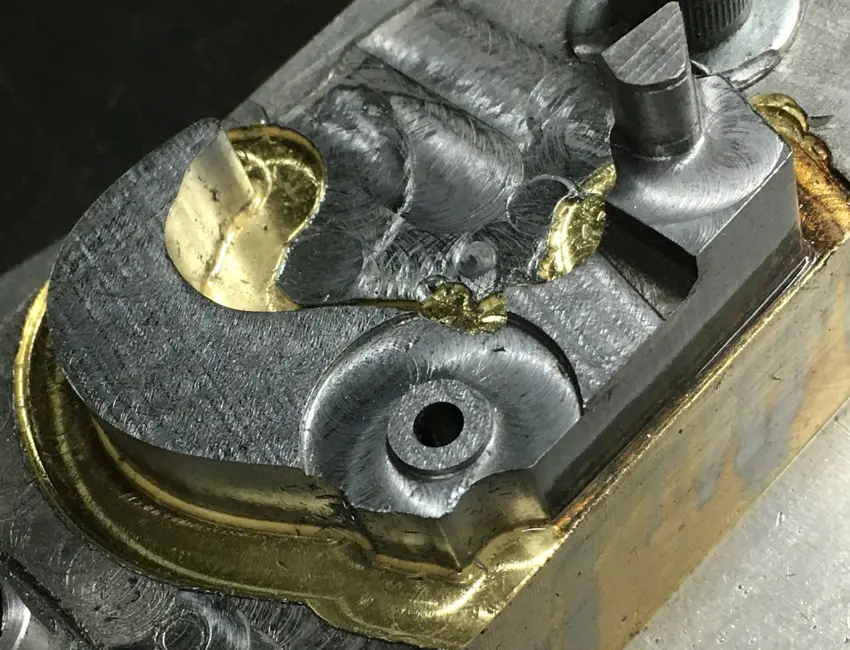
Fortunately, the tumbler’s bent hadn’t been ruined, so I had that to work with. But it is almost impossible to visualize—and recreate—the cocking geometry of the tumbler and sear when placed in the action body, so I made a “try plate” on which I could hang both left and right locks. Think of a try plate as something like one of the old cutaway guns with exposed internals that salesmen used to help customers understand the gun’s mechanism. This allowed me to visualize and compare the two sides, which is much easier with parts in full view, and to calculate and carefully duplicate the angle of engagement and trigger-pull distance.
[inpost_leaderboard_1]
Both tumblers and sears had to match each other in every way, so the repair required lots of back-and-forth stoning and fitting between the try plate and the Greener’s action body. It was, frankly, challenging, painstaking work that took many hours to accomplish, but now I could see a light at the end of the tunnel.
With the gun now cocking and ejecting, the next step was to make a new tumbler. I had questions about the original’s metallurgy, so Vic Venters arranged for me to call W.W. Greener director and gunmaker David Dryhurst, in Birmingham. David was generous with his time and advice: A late-19th Century tumbler would have been filed up by very skilled craftsmen from a rudimentarily machined hand-forging made of “common hardening steel,” similar to but not exactly analogous to modern EN9. I chose 4140, a somewhat tougher and more impact-resistant steel, quite suitable when correctly hardened.
With the repaired tumbler serving as my pattern, I used my Deckel KF12 copying mill to duplicate the original in 4140. In the era of 3D printing and CNC, the German-made Deckel—a manually operated pantograph—is obsolescent for general manufacturing but remains superb for creating perfect one-to-one copies of gun components; the challenging part is that one needs to understand the machine’s capabilities. Duplicating the tumbler’s complex shape took many hours, as it required a few custom cutters and many tool changes.
With the inside shape complete, I machined the tumbler’s outside face, trued and faced the outer shoulder, and bored the tumbler pivot hole to size; then I lapped in its pivot pin for a perfect fit—the goal being zero lateral movement on this critical component. After that it was handwork with stones and files to achieve final clearances.
After I fit the tumbler into the action, I cut its bent and fit the sear nose into it. There is only one way to fit this sear correctly, and that is by working the nose down slowly into the bent. This is where work got delicate—one stroke too many could undo everything. I devised a tool to stone the sear nose, which gave me full control over the angle of engagement as well as the amount removed with each stroke, all while keeping the sear nose perfectly aligned with the tumbler’s axis. Because the metal was still soft, I left the sear nose and bent fractionally oversized to account for wear as I regulated the mechanism. During the back-and-forth fitting process, the dual-limb left sear spring broke, so I made a new one from spring steel, fit it, and hardened and tempered it.
With the gun cocking and ejecting properly with snap caps, the next step was to harden and temper the new tumbler. Per David’s instructions, G-Guns require selective tempering on three working surfaces. First, I through-hardened the tumbler by heating it to a bright cherry red, and then quenched it in oil and polished it. At this point it was file hard but very brittle. Then the whole thing needed to be drawn to light straw and allowed to cool slowly, leaving it very hard but less brittle. I then brought the forearm section to purple, leaving it tough but a bit softer to prevent cracking, while I brought the tip of the striker and the striker body to blue—a bit softer yet but still hard enough not to deform as it smacked the corresponding surface in the action body when the gun was fired. All the while the tumbler’s bent and pivot had to remain straw hard. Achieving this was easier described than done, but I didn’t want to disappoint David, so I did as instructed. Then came the final whisper adjustments of the sear and bent—“hard-fitting,” as it’s called.
After almost 100 hours on this restoration, it was time to put my work to the test. I handloaded some soft 10-gauge shells that would approximate the pressure of those the Greener had been designed to shoot. It was a cold day in February, and there was still snow on the ground when I put the restoration to trial by fire. This undoubtedly had been one of the most complex and time-consuming jobs of my career.
[inpost_leaderboard_2]
After two shots, I cracked the gun and two empties ejected, simultaneously, landing within inches of one another.
I’d like to think I’ve done the A-team proud.
Claudio Opacak lives outside Toronto and has been endorsed by W.W. Greener's gunmaking team to repair high-grade Greeners in North America. Vic Venters is Shooting Sportsman’s Senior Editor.
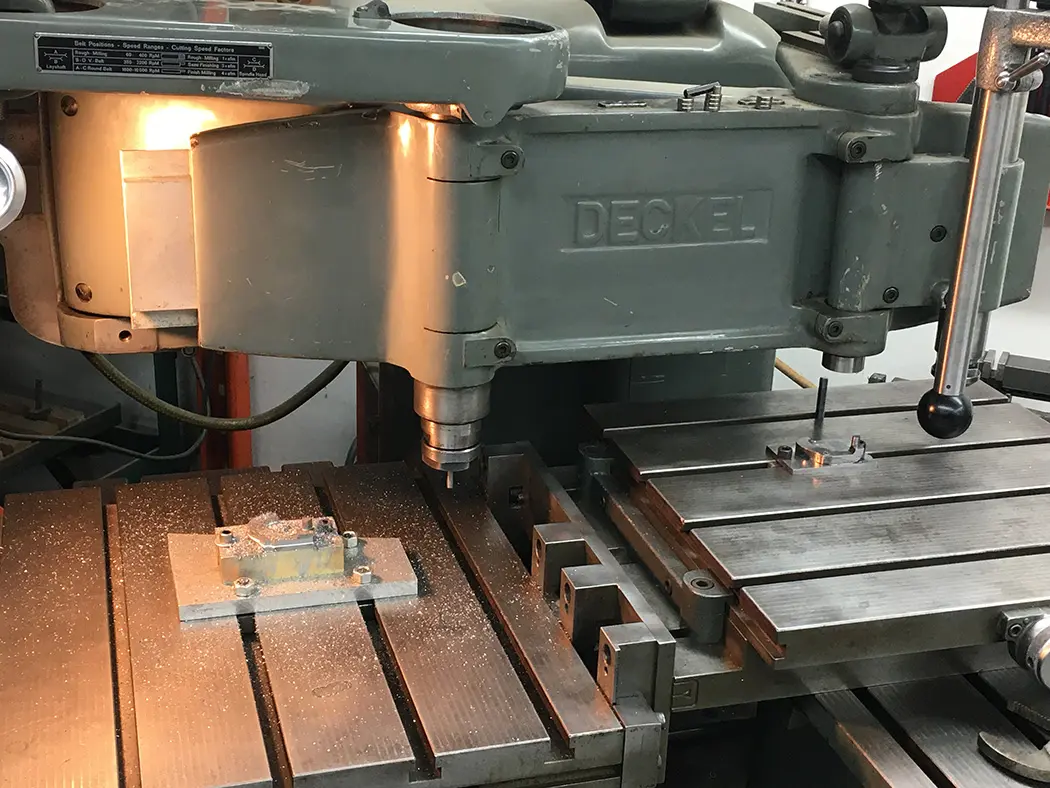
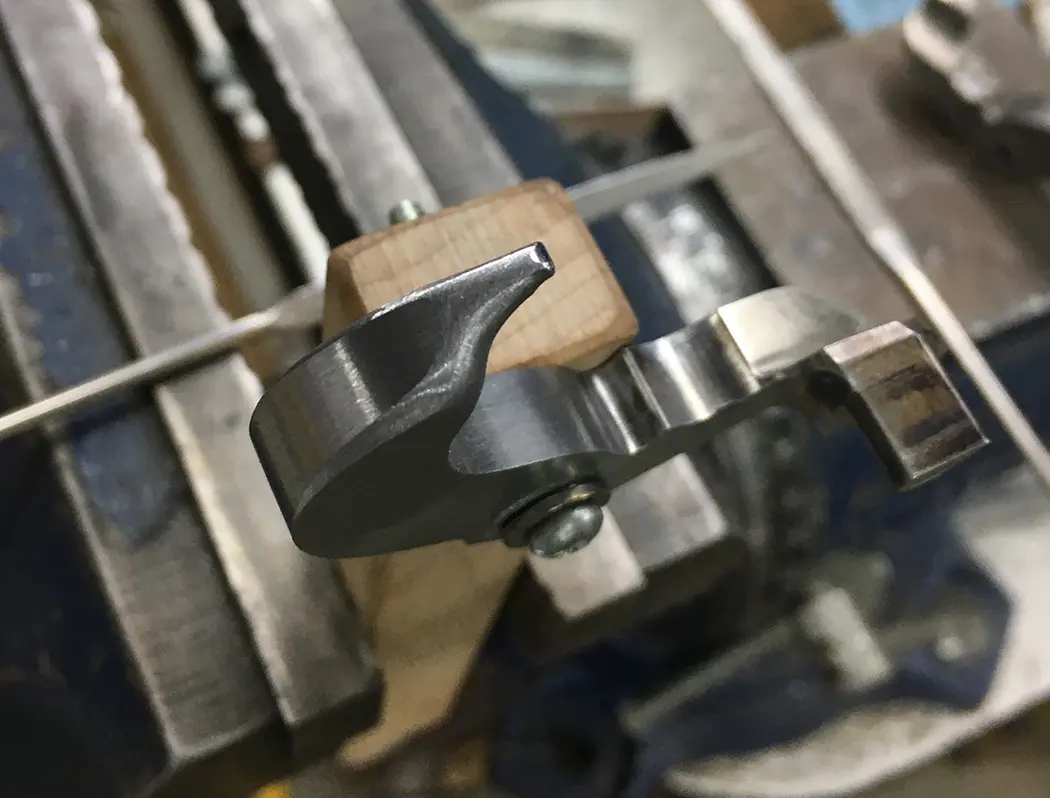
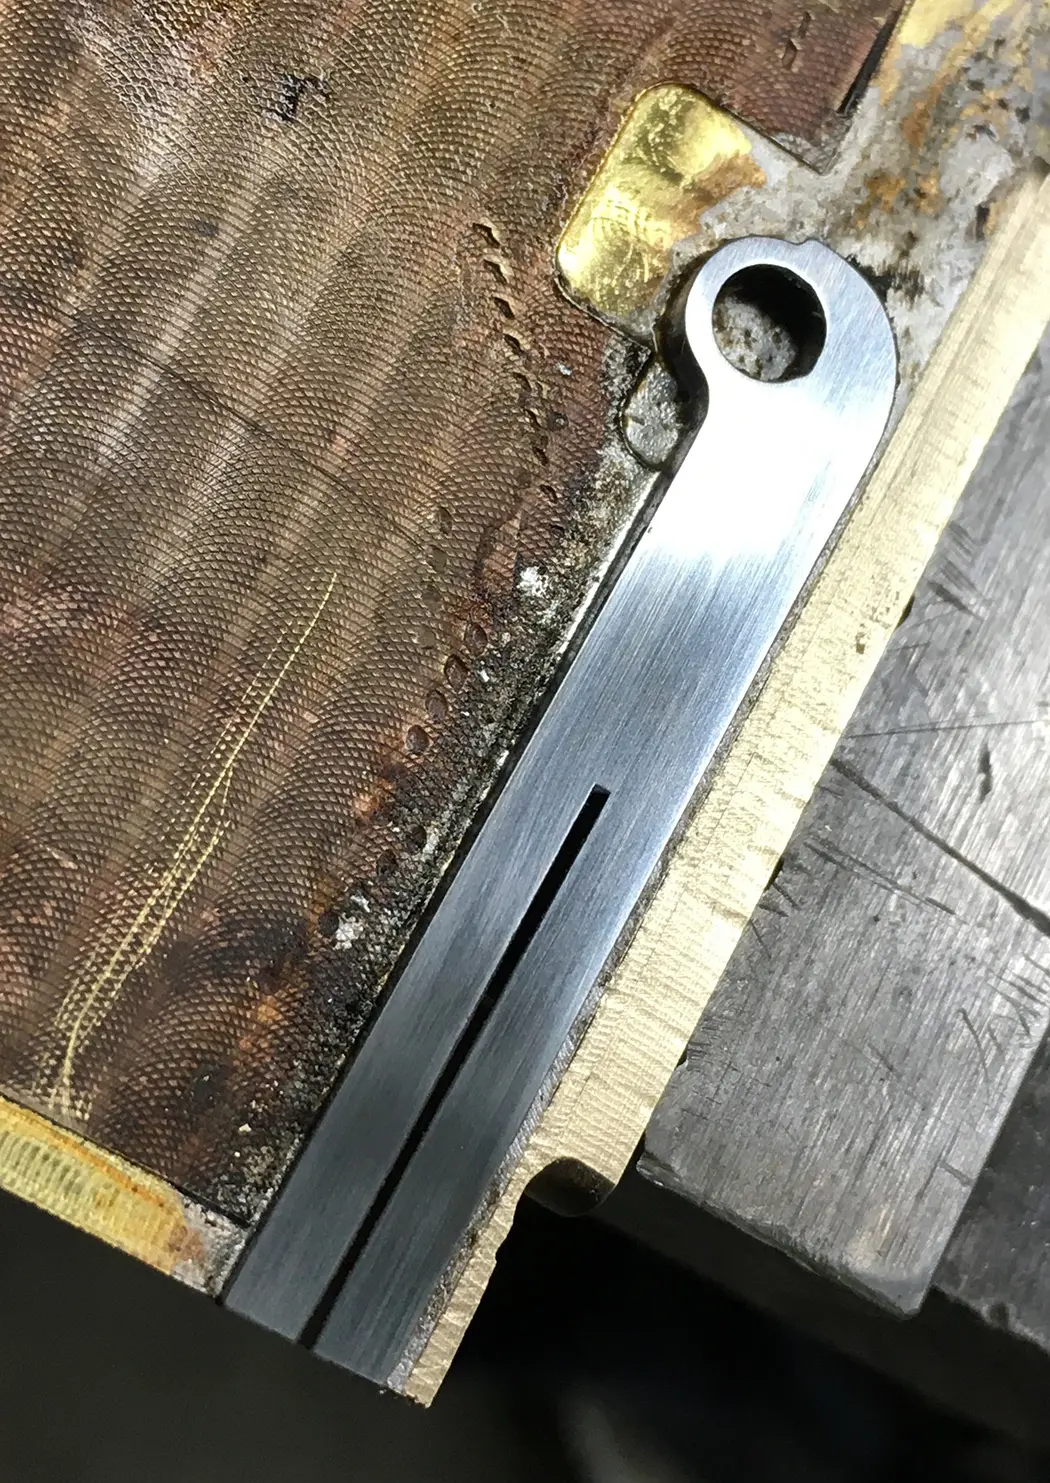
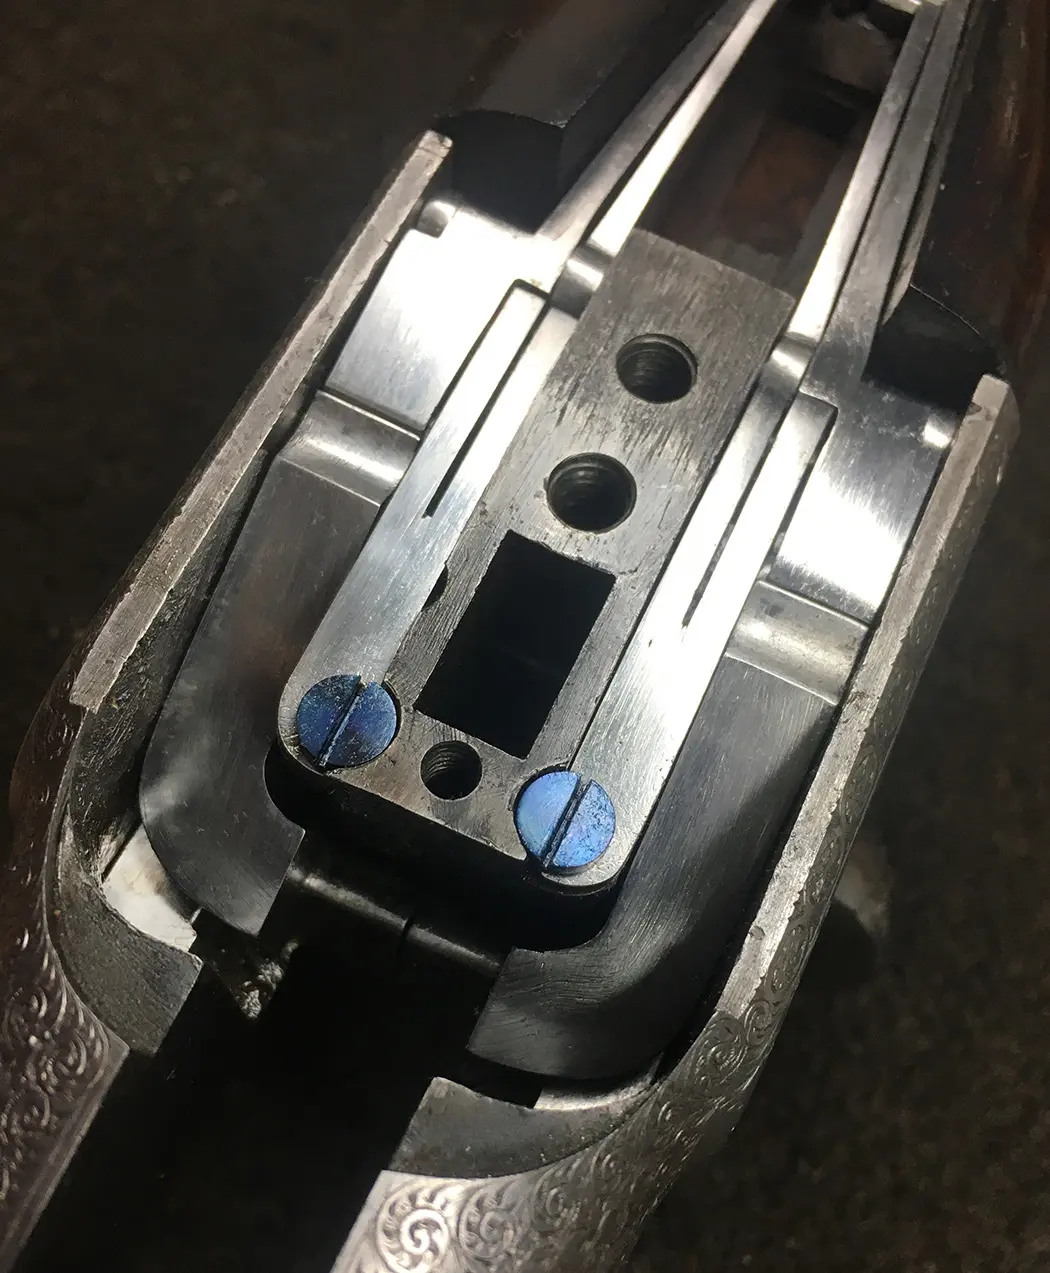
Clockwise from top left: Duplicating the tumbler with a Deckel copying mill; fine tuning the tumbler; fashioning a new dual-limb sear spring; and the final product, with all parts in place. Below: Proof of a successful repair and restoration.
Read our Newsletter
Stay connected to the best of wingshooting & fine guns with additional free content, special offers and promotions.


Amazingly complicated job, well done! (Now, don’t you want to go back in time and see if you could do this with the tools available 134 years ago? ) Probably good that we can’t. Each era has its own solutions to problems.
This two part series was great! The only improvement I can imagine would be to have the individual photos “click and enlarge” but as a 73 year old non-computer friendly fossil, I have no idea how much extra work that would cause you.
Very well done!
Greeners are much underated. Often wonder if J. P. Sauer borrowed from their lovely lines. And yours omits that infernal safety……