In previous articles I have touched on the importance of good footwork and a smooth gun mount when it comes to successful shooting. However, we should aways be working on fine-tuning our technique in both clay target and upland shooting.
With hunting season fast approaching, it’s worth taking a fresh look at the role that the eyes, hands, feet and gun mount play in shooting. Every athlete in any action sport needs to create a training regimen and practice the skills essential to his or her sport—particularly movement, balance and footwork.
A boxer, for example, has to attack as well as defend, and a good deal of footwork is required for both. The power of a punch is generated from the ground up—feet, hands and eyes.
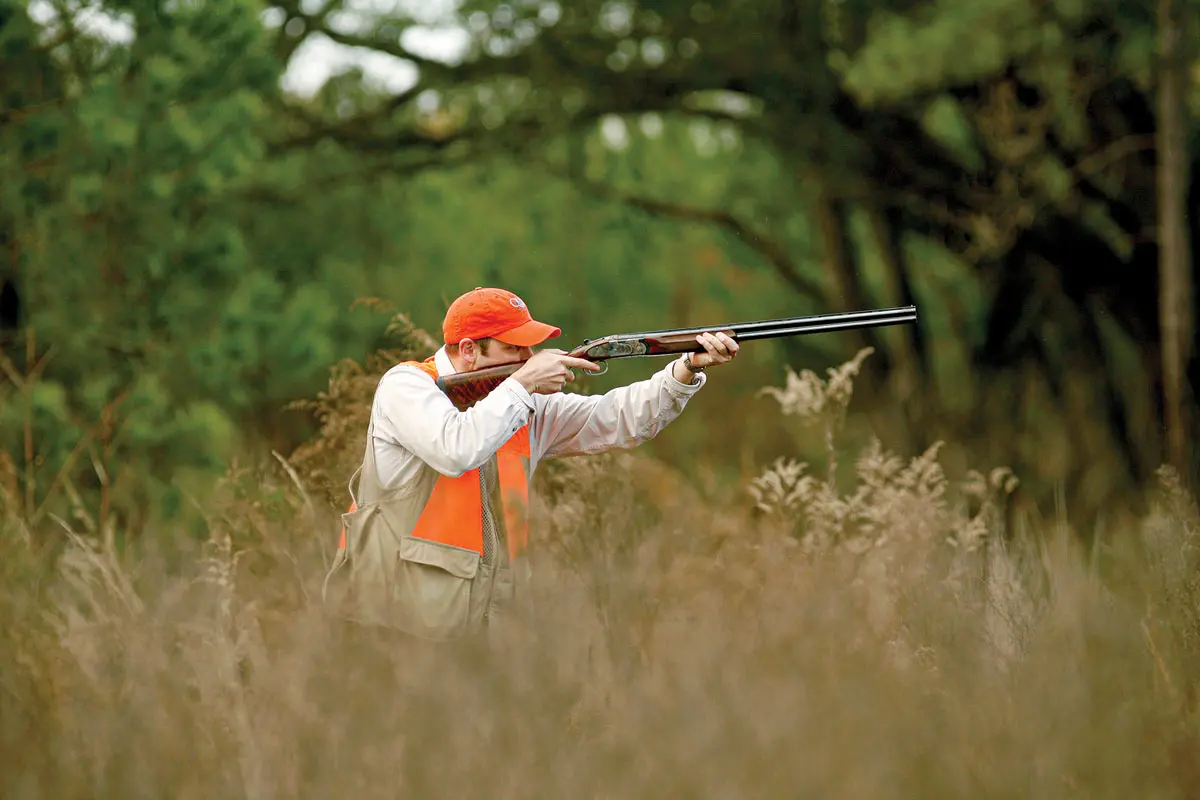
Upland and pass-shooting require similar use of the feet, hands and eyes. The hunter must be able to step into the line of flight of the bird and drop a shoulder when necessary to place the barrels on the line of flight.
Consistent footwork and barrel placement are keys to straight shooting. Whenever I see poor shooting in the field, it typically is due to a lack of footwork and a smooth gun mount.
When upland hunters practice on clay targets, they usually opt for shooting skeet, trap or sporting clays. The disadvantage of such practice is that the targets fly at set speeds, angles and distances, so little, if any, consideration is given to the footwork needed in the field. Also, many of the clay target games, with the exception of FITASC and Olympic Skeet, are shot with a pre-mounted gun.
These limitations can be overcome with a few simple moves designed to practice using clays to replicate the birds encountered in the field.
STARTING FROM THE GROUND UP
Proper practice starts with footwork. You need to move your feet. If you don’t, you are putting the brakes on your swing, and this will force you to transfer weight from one foot to the other to keep the gun moving. This inevitably will result in your gun coming off the line and you missing over or under the target—often referred to as “rainbowing” your swing.
You need to stand erect and balanced, with your weight slightly forward, and relaxed. Ideally, your heels should be no farther apart than your shoulders and, depending on your conformation, they can actually be as close together as six to nine inches. In practice, set your feet so that you can easily rotate your upper body while smoothly mounting your gun to your shoulder and cheek. When you have grooved this move on the clays course, it will pay dividends in the field.
As you swing through and take the shot, the gun is free to follow through and your movement won’t be restricted in any way. By putting more weight on the front foot and pivoting the rear toe, you can stay on the proper line for birds flying left or right.
When a bird flushes, you need to step toward the bird, remaining relaxed and balanced, and follow through. Note that this step is a small movement of inches, not a lunge of feet; it is more about pivot and direction than an actual stride. “When quick is the step, then swift will be the action.”
For right-handed shooters, the 12 and 2 o’clock ready position—with the left foot at 12 o’clock and the right foot at 2 (reversed for left-handed shooters, with the right foot at 12 o’clock and the left at 10)—also works for the Churchill Method for shooting driven birds, as it allows shooters to swing in a very wide arc. If a bird goes to the left, all you need to do is shift your weight to your left foot; the opposite when shooting to the right.
EYES & HANDS
Many of my clients arrive for lessons with eye-dominance issues. Many sports, like tennis, golf, boxing and shooting, rely on the eyes to guide the hands and direct the core muscles of the body. In wingshooting, the eyes see the target, the feet move, the arms lift, the hands point out the bird or clay target, and the trigger is pulled.
Among the many reasons for misses—including lack of footwork, poor eye-hand coordination, an inconsistent gun mount and poor gun fit—is simply checking the lead and the bead. Often referred to as “riding the target,” once you start checking the barrel-bird alignment—looking at and measuring the lead and the bead—you hesitate and the target/bird is gone.
You must focus on the target. Visual connection with the target throughout the shot is essential. Trust your eyes to direct your feet, make a smooth gun mount and take the shot. Rhythm and timing are essential, as in the memorable saying, “Butt-belly-beak- bang!”
GUN MOUNT
Achieving a good, smooth gun mount is the most effective skill you can master for any form of shotgun shooting and one where you can see real benefits quickly. There is a series of exercises that can be practiced easily at home.
First, with an unloaded gun, set yourself up six feet from a mirror. Start by placing the gun in your shoulder and your head on the stock and pointing the bead at your eyeball in the reflection. You want to see your eyeball resting on the rib. If it isn’t, then your gunfit should be checked by a competent coach. Assuming the gun does fit, lower it from your shoulder pocket and mount it slowly 10 times in a row, trying to get your eyeball to sit perfectly on the rib each time.
A small adjustment is not unusual in the first few sessions. What you are trying to do is have both hands work in unison—the muzzle and stock of the gun rising together as you mount it. Your shoulder should move forward a little, but your head should remain still; and everything should lock firmly and smoothly together at the same time.
If you find that your stock hand is doing more work, the gun’s muzzles will dip below the horizontal. You can rectify this by controlling the stock under your armpit. This forces your barrel hand to push forward rather than up.
Contrary to popular belief, muscles do not have ‘memory.’
Another good exercise is the three-cartridge drill. You need to have a shelf roughly six feet long and eight feet off the floor. Place three shotgun cartridges on the shelf—one in the middle and one at each end. Using a laser cartridge (such as the LaserShooter or the Gotical Laser Bore Sighter) in your gun, point at the central cartridge, and then, while maintaining hard focus on it, smoothly swing the gun to the right and then left cartridges. It is essential that you maintain hard focus on the middle cartridge. This drill improves your peripheral vision on the target.
Another good exercise tests your focus and concentration. Away from the mirror, with your newly refreshed gun mount, slowly point to the corner where two walls meet the ceiling; and just before the gun locks with your shoulder and cheek, close your eyes. Open your eyes again when the shotgun is in your shoulder, and you should be pointing at the corner. Once you have practiced this enough, you can move on to following the lines of the wall-ceiling junctions. These natural flow lines can help you visualize that fluidity inherent in good shooting. You can use a laser cartridge or tape a small flashlight to the side of the barrels or beneath them and close the curtains to practice focusing on the “bird” while retaining barrel awareness.
What you are trying to achieve with your focus is to maintain the right level of attention but in a relaxed manner. Focus too hard, and you tighten up; too soft, and careless mistakes affect your gun mount.
It’s important to note that having a gun that is well balanced between the hands helps in achieving a smooth gun mount. Also, if a stock’s length of pull is too long or too short, the hands’ placement on the stock and forend will be affected and can cause gun-mounting problems.
Contrary to popular belief, muscles do not have “memory.” Specific parts of the brain control which signals your muscles act upon, and this is where these practiced movements become second nature. Your muscles’ strength and fitness to carry out these moves are also trained and improved.
Finally, once you have practiced your footwork and positioning, your focus and your gun mount, you need to practice with clay targets that simulate the flight of the gamebirds you plan to hunt. Your improved shooting this season will definitely reflect your summer’s hard work.
Chris Batha’s most recent book, The Instinctive Shot, can be ordered by visiting chrisbathashooting.com, which includes schedules of shoots and clinics with the author.
Buy This Issue!
Read our Newsletter
Stay connected to the best of wingshooting & fine guns with additional free content, special offers and promotions.


As usual, Chris is spot on. I would add that shooting skeet and sporting with low gun, and having targets released with a random delay of up to 3 seconds (original American skeet rules pre 1952), simulates the unpredictability of a grouse or woodcock flush.