Text & Photos by Joe Seely
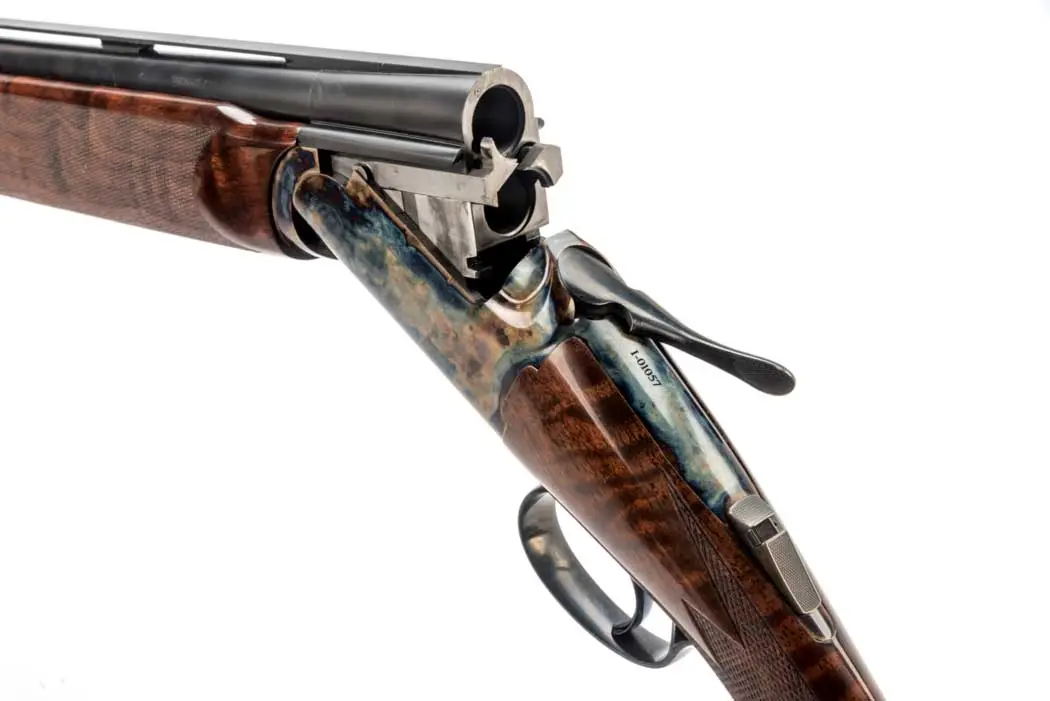
I had been commissioned by a gunsmith to recut the engraving on a Stephen Grant & Sons side-by-side shotgun that was being working on. When the metalwork arrived, it had been lightly polished; and though most of the engraving was intact, it needed to be sharpened and detailed to make it look new again. Once the job was completed, the gun was packed up and returned to the gunsmith, who was very pleased. Time forward, I received a call from the same gunsmith, who said he now had an issue with the Grant’s trigger guard. It seems that while he had been bluing the guard, the wire wheel had grabbed it and thrown it across the shop, breaking it beyond use. He was wondering if it could be repaired. I told him: “Send it along. Miracles just cost more.” Upon receiving the gun, I took a look and decided that the guard would need a completely new tail, as I never would have been able to get all of the kinks out of it, weld it back together and have it fit the stock properly.
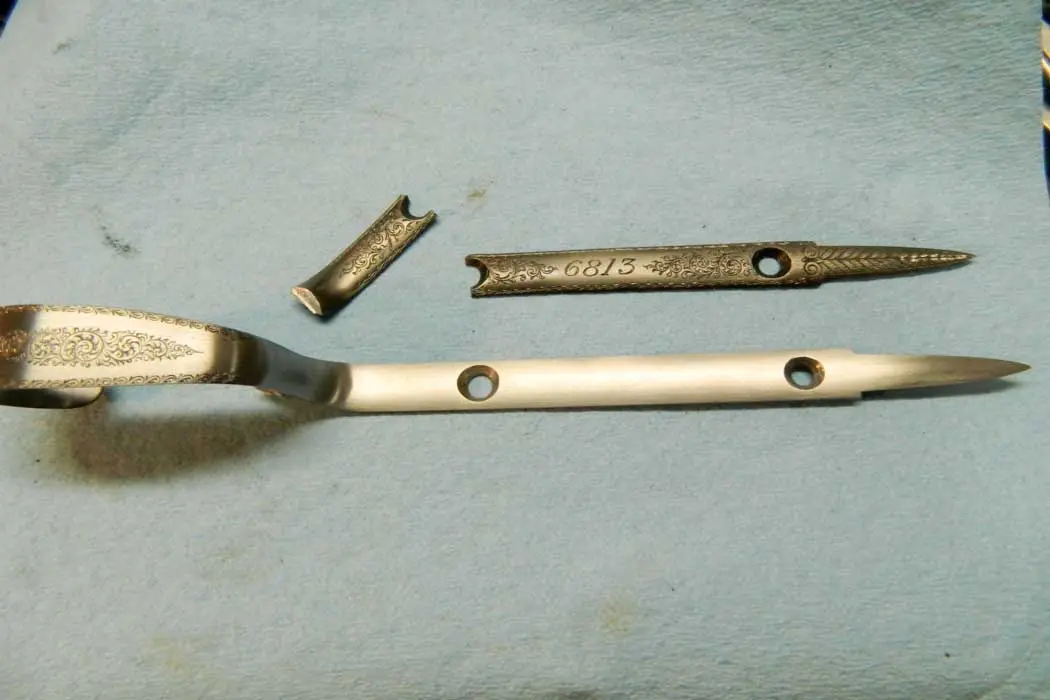
The plan was to cut a new tail from a piece of 1⁄8" x ½" 1018 cold-rolled steel that I had in the shop. The tail then would be made to fit the inlet in the stock. To do this, I cut the steel with a little extra length, milled its width, and then super-glued it to the underside of the original tail. This allowed me to get the end filed to the exact shape of the original and get the holes for the screws properly positioned. Then it was popped apart, and the draft was filed so that it would fit the inlet perfectly. Now with the end rolled up so that it could be put into the stock, the counter-bores for the screws could be deepened gradually until the guard screws would time properly. This, in turn, would allow me to file the top of the new tailpiece to the right thickness and contour so that it could be reattached to the original guard.


The new tail ready to be cut and fused to the original trigger-guard bow; the finished product.
With the new tail made and contoured, the screws timed, and the top of the tailpiece and original guard cut for a good mating surface, it was a matter of getting things welded together in perfect alignment. The best way that I have found to do this is to weld the pieces together in place. The hard part is that there is wood there that won’t withstand the heat of welding. So I use an old trick that I picked up from my father: tape. I put everything together and wrap around the weld area with several layers of masking or fiberglass tape to protect the wood. Then with a TIG welder turned down low, I fuse the two edges together while they are held securely in place. As soon as the edges are fused, I take apart everything so that the heat doesn’t migrate down the metal and blister the finish on the stock around the edges of the new tail.
Once things were tacked together, they were removed and screwed to a block of scrap for proper welding (keeping warpage to a minimum). Then after final shaping and contouring, the guard was ready for final fitting, which consisted of minor tweaking of the new guard to fit the stock inletting.
One of the final steps was to engrave the new trigger-guard tail to match the old, so, using the smoke-lift method and feeding that into my computer, I was able to enhance the engraving pattern, reverse and print it on clear overhead projector sheets, and transfer it back to the new tail of the trigger guard. This allowed me to cut to exactly match the original engraving.
Last came bluing and assembly.
Read our Newsletter
Stay connected to the best of wingshooting & fine guns with additional free content, special offers and promotions.